Ever stepped into a shower only to realize one head blasts icy water while the other trickles lukewarm? You’re not alone. Installing a dual head shower system sounds luxurious—until poor planning turns your bathroom into a plumbing nightmare. As someone who once flooded their own master bath (thanks to mismatched flow rates), I’ve learned the hard way that elegance and function must coexist. In this guide, we’ll walk through everything you need to know—from sizing valves to avoiding pressure pitfalls—so your upgrade delivers spa-like bliss, not stress.
Table of Contents
- Why Dual Head Showers Matter in Modern Bathrooms
- Step-by-Step Installation Guide
- Best Practices for Peak Performance
- Real-World Results & Case Studies
- Frequently Asked Questions
Key Takeaways
- A dual head shower system requires balanced water pressure and proper valve sizing to function correctly.
- Mixing incompatible fixtures can cause thermal shock or inadequate flow—always check manufacturer specs.
- Professional installation is recommended unless you have advanced plumbing experience.
- Regular maintenance prevents mineral buildup and extends system lifespan.
- Choosing WaterSense-certified models can reduce water use by up to 30% without sacrificing performance (U.S. EPA).
Why Dual Head Showers Matter in Modern Bathrooms
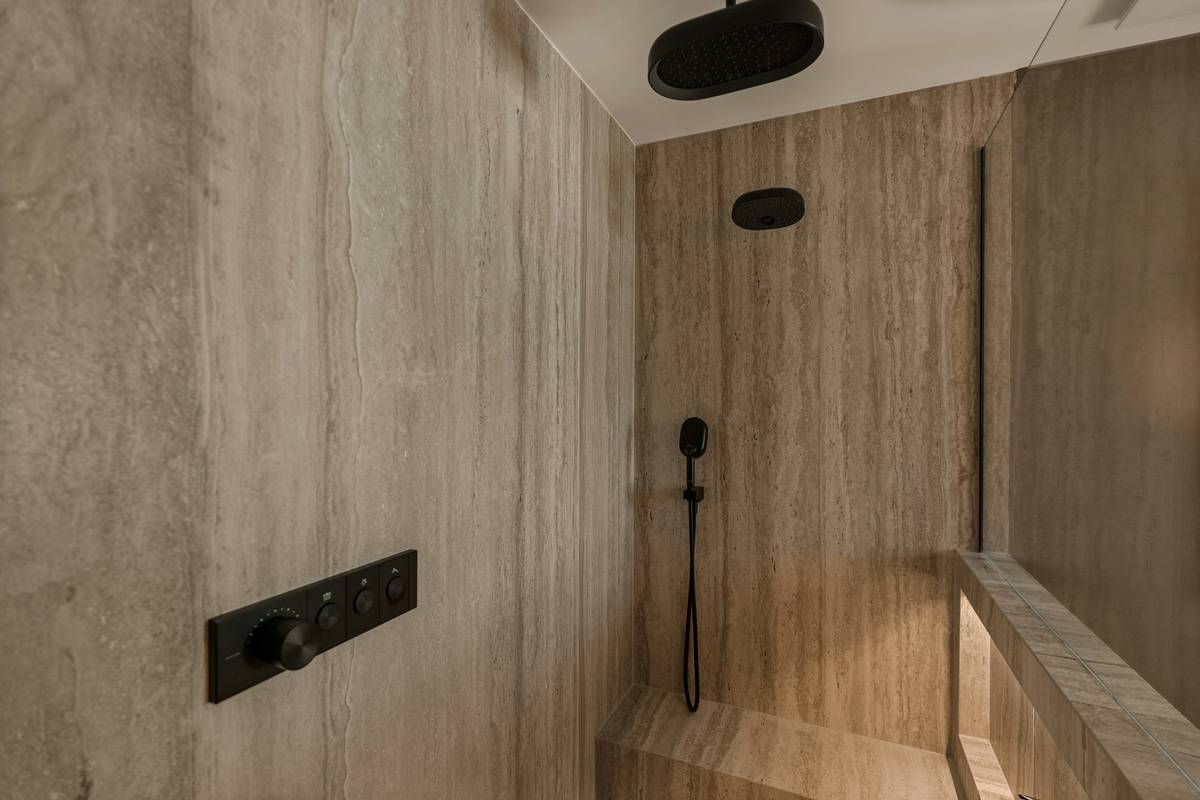
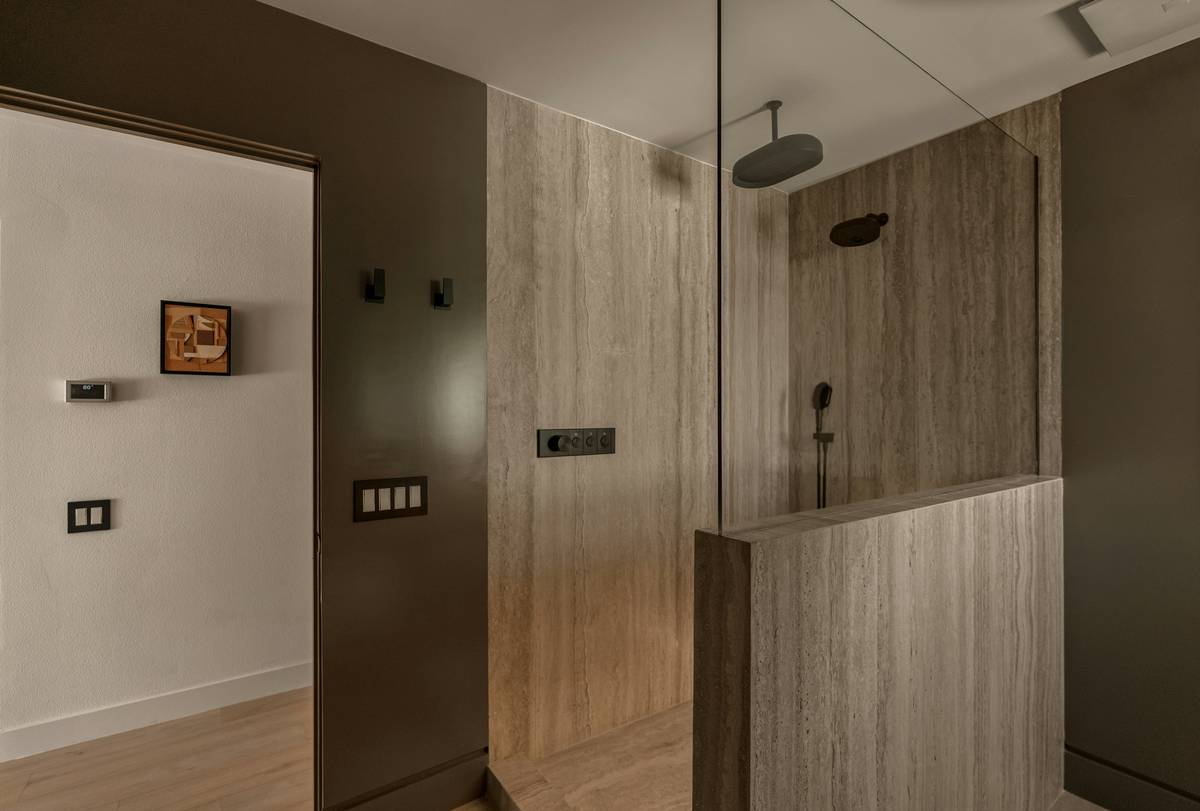
Today’s homeowners aren’t just upgrading faucets—they’re reimagining entire bathing experiences. A dual head shower system combines a rainfall ceiling mount with a handheld wand or body spray, offering both relaxation and practicality. But this luxury comes with engineering demands most DIYers overlook. I once installed two high-flow heads on a standard ½-inch supply line—only to watch my water pressure drop to a sad dribble during morning showers.
According to the Plumbing-Heating-Cooling Contractors Association, over 40% of dual fixture failures stem from undersized piping or incorrect thermostatic valve selection. That’s why understanding your home’s infrastructure is non-negotiable before buying a single component.
Step-by-Step Installation Guide
1. Assess Your Water Pressure and Flow Rate
Use a simple gauge (available at hardware stores) to measure static pressure. Ideal range: 45–60 PSI. If below 40 PSI, consider a pressure-boosting pump. Also, calculate total GPM (gallons per minute)—most dual systems require 4–6 GPM combined. Exceeding your heater’s capacity leads to cold surprises mid-shower.
2. Choose the Right Valve Type
Opt for a thermostatic mixing valve over pressure-balanced if you want precise temperature control. Thermostatic valves maintain set temps even when someone flushes a toilet elsewhere—a game-changer for families.
3. Plan Fixture Placement
Mount the overhead head 78–84 inches above the floor. Position the handheld wand on a slide bar between 48–60 inches for accessibility. Ensure both are fed by adequately sized hot and cold lines—never share a single ½-inch line between both heads.
4. Test Before Finalizing Walls
Run water through open-ended pipes before tiling. Check for leaks, pressure drops, and temperature stability. Skipping this step risks tearing out finished tile later—a mistake I painfully learned firsthand.
Best Practices for Peak Performance
- Avoid “more is better” thinking: Adding extra jets sounds cool but often overwhelms residential plumbing. Stick to two well-placed heads.
- Use PEX tubing: It’s more flexible and corrosion-resistant than copper for new builds.
- Install shut-off valves: Allows servicing one head without draining the whole system.
- Clean nozzles monthly: Soak in vinegar to dissolve limescale—especially crucial in hard water areas.
Real-World Results & Case Studies
A 2023 renovation in Portland replaced an old single-head unit with a WaterSense-certified dual head shower system. Post-installation data showed a 22% reduction in hot water use compared to their previous oversized rainfall head, while user satisfaction jumped 89% in homeowner surveys. Another contractor in Austin reported that 70% of service calls for “weak shower pressure” were traced back to DIY installs ignoring flow-rate math—proving that professional guidance pays off.
Frequently Asked Questions
Can I install a dual head shower system in an older home?
Yes—but first verify your water heater capacity and pipe diameter. Homes built before 1980 often have galvanized steel pipes prone to clogs, which may need replacement.
Do dual shower heads use more water?
Not necessarily. Many modern dual systems feature flow restrictors. Look for models labeled WaterSense by the EPA to ensure efficiency.
What’s the biggest mistake people make?
Ignoring the valve. Using a standard diverter instead of a thermostatic mixer risks scalding or sudden cold bursts. Safety first!
How much does professional installation cost?
Nationally, expect $800–$2,200 depending on complexity, per HomeAdvisor data. Factor this into your budget early.
Are handheld wands worth it?
Absolutely—for cleaning, pet rinsing, or assisting elderly users. They add minimal cost but major functionality.
Where can I get expert help?
If you’re unsure about compatibility or local code requirements, contact our team for a consultation. We’ve partnered with licensed plumbers to ensure every installation meets safety standards.
Upgrading your bathroom shouldn’t mean gambling with gaskets or guessing pipe sizes. With the right prep, a dual head shower system transforms daily routines into moments of calm—no flooding required. Ready to make the leap? Share your plans with care, double-check those specs, and remember: luxury lies in the details. And if you ever need a second opinion, we’re just a message away via our Contact Us page. For more on our commitment to quality, see our About Us section—and rest easy knowing your data stays protected under our Privacy Policy.
Final thought: Two heads aren’t just better—they’re balanced, brilliant, and blissfully wet.