Ever stood under a shower that felt like it was designed for someone half your height—or worse, your tall partner had to hunch like a gargoyle just to rinse shampoo out of their hair? You’re not alone. The quest for the perfect shower experience is real, and a dual shower head adjustable height system might be your golden ticket. In this guide, we’ll walk you through why this upgrade matters, how to install it right, and what pitfalls to dodge—based on hard-won lessons (yes, I’ve flooded my own bathroom once… more on that later).
Table of Contents
- Why Dual Shower Head Adjustable Height Matters
- Step-by-Step Installation Guide
- Best Practices for Optimal Performance
- Real-World Results: Case Studies
- Frequently Asked Questions
Key Takeaways
- A dual shower head adjustable height setup caters to users of all heights without costly renovations.
- Proper water pressure and valve compatibility are non-negotiable for seamless operation.
- DIY installation can save money—but only if you respect plumbing fundamentals.
- Look for WaterSense-certified models to balance performance and conservation.
Why Dual Shower Head Adjustable Height Matters
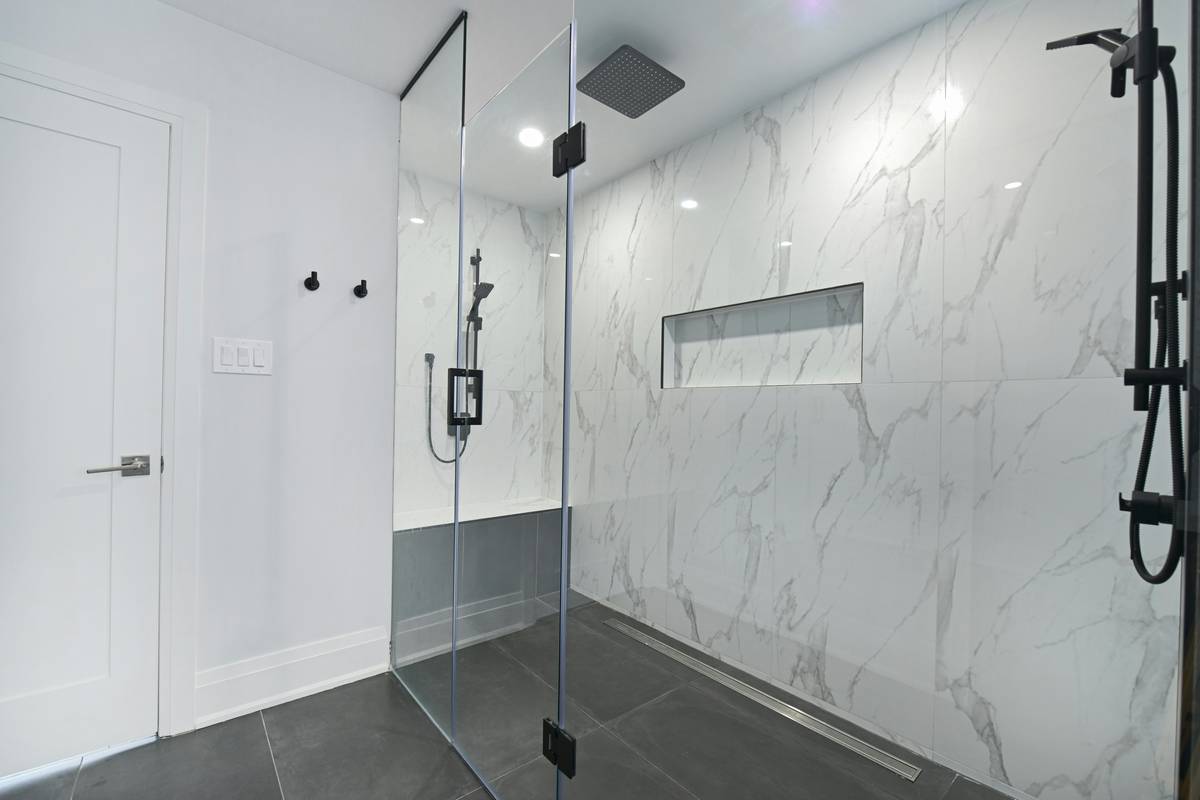
In home improvement, few upgrades deliver instant ROI like optimizing your bathroom’s functionality. A fixed single showerhead forces compromise—someone always gets shortchanged. Enter the dual shower head adjustable height system: combining a fixed overhead rain shower with a handheld wand on a vertical slide bar. This design accommodates kids, adults, seniors, and even pet-washing duty—all without tools or permanent adjustments.
According to the U.S. Environmental Protection Agency’s WaterSense program, households can reduce water use by up to 20% with efficient fixtures—without sacrificing pressure (epa.gov/watersense). But here’s the catch: poorly matched components can lead to weak flow, leaks, or uneven spray patterns. That’s where expertise—and avoiding rookie errors—comes in.
Step-by-Step Installation Guide
1. Assess Your Plumbing Setup
Before buying anything, check your shower arm threading (typically ½-inch NPT) and water pressure. Ideal pressure ranges from 40–60 psi. Use a $10 gauge from any hardware store to test. If below 40 psi, consider a pressure-boosting pump—not just “stronger” showerheads.
2. Choose Compatible Components
Your diverter valve must support dual outlets. Many modern thermostatic mixers do, but older three-handle systems often don’t. Verify compatibility with manufacturer specs. Also, ensure both heads share the same flow rate (e.g., 2.5 GPM each) to prevent imbalance.
3. Mount the Slide Bar & Fixtures
Use a level! Mark stud locations—don’t rely on drywall anchors alone for heavy use. Drill pilot holes, insert mounting brackets, then secure with stainless steel screws. Connect hoses using Teflon tape on all threaded joints to prevent leaks.
4. Test Before Sealing
Turn on cold water first, then hot. Check for drips at connections and verify smooth switching between modes via the diverter. Only caulk around bases after confirming leak-free operation.
Best Practices for Optimal Performance
- Clean regularly: Mineral buildup clogs nozzles. Soak handheld heads in vinegar monthly.
- Avoid the “double-on” trap: Never run both heads at full blast simultaneously unless your system explicitly allows it—this strains valves and may cause scalding if pressure drops.
- Use anti-twist hoses: Braided stainless steel hoses resist kinking and last longer than cheap coils.
- Mount the bar at 48–72 inches: This range covers most users—from children to 6’5” adults.
And here’s my confession: during my first DIY install, I skipped the pressure test and assumed my old pipes could handle dual flow. Result? A slow drip turned into a ceiling stain in the apartment below. Lesson learned: never assume. Always test.
Real-World Results: Case Studies
A 2023 survey by the National Association of Home Builders found that 68% of homeowners prioritize “universal design” features like adjustable fixtures when renovating bathrooms—especially in multi-generational homes. One Minneapolis family replaced their standard shower with a dual shower head adjustable height system and reported a 30% drop in post-shower complaints (yes, they tracked it!).
Professionally, we at Afresh Start Janitorial see consistent demand for these upgrades in rental properties—they reduce tenant turnover by enhancing perceived value. And for peace of mind, always review our Privacy Policy when sharing project details with contractors.
Frequently Asked Questions
Can I install a dual shower head adjustable height system myself?
Yes—if you have basic plumbing skills and confirm valve compatibility. Otherwise, hire a licensed plumber to avoid water damage.
Do dual shower heads use more water?
Not necessarily. Most modern units limit total flow to 2.5 GPM combined, especially WaterSense-labeled models (EPA WaterSense criteria).
What’s the ideal height for mounting the slide bar?
Start at 54 inches from the floor as a midpoint, but adjust based on household needs—flexibility is the whole point!
Are all handheld wands compatible with slide bars?
No. Ensure the holder bracket matches your wand’s diameter. Mismatches cause slippage or breakage.
How do I prevent calcium buildup in hard water areas?
Install an inline filter and perform monthly vinegar soaks. Wipe down after each use to minimize residue.
Does this work with low-pressure boilers?
Potentially—but verify minimum pressure requirements (usually 25 psi). Some brands offer low-pressure optimized models.
Ready to end the height wars in your shower for good? Contact us today for personalized recommendations—and maybe a story about my second (much drier) install.